Skip to content
My home project · Saved on this deviceMy project →

HOMES / DESIGNED AROUND YOUR LIFE

Begin with how you want to live.

A place to gather. A quieter room to work. Space to grow. Turn your priorities into a brief, then explore a home concept and the ways it could be built.

Understand what you are looking at
Inspiration
Images communicate a style or idea. They do not establish the layout, assembly or delivery scope.
Plan reference
A link you supply for discussion. The site does not extract or verify its contents.
Saved concept
A room-and-wall study with measured geometry, assumptions and open design questions.
Professionally reviewed design
Site- and system-specific documents with identified reviewers and scope. Saving a concept does not confer this status.
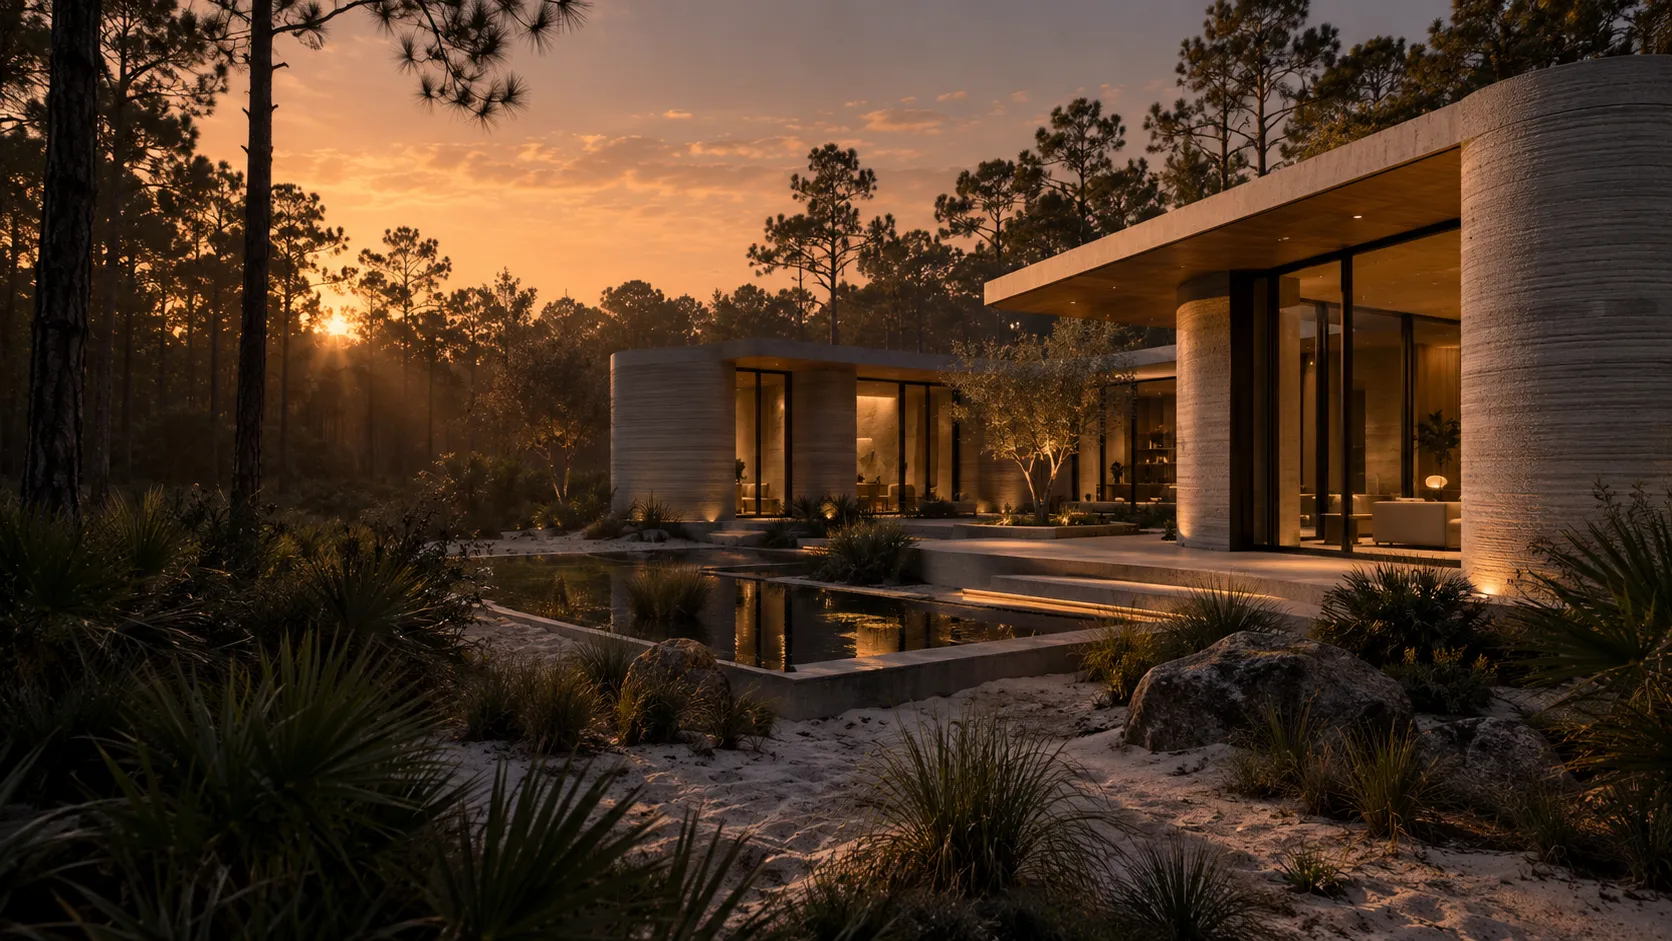
Stackx architectural concept of a concrete courtyard home with warm timber detailsArchitectural concept · not a completed Stackx project

YOUR SHARED HOME BRIEF

Tell us about your home

Your description and reviewed details carry over from Start Your Project.

Use the guided project start
Optional room details & finish scope
Open shared studio

The designer receives your description, room preferences and finish priorities. Separate location, budget and date fields stay in this project; anything you wrote in the description goes with it. The studio is shared across projects on this device. Switching projects does not replace its current design; review the concept before attaching it to this home. Passing the brief does not run AI. Review it in the studio before requesting generation; Base44 AI allowance applies.

BRIEF + LAYOUT

Review and attach your home concept

Save a home in the studio, then compare it with your brief here. Usable area and bathroom targets stay as entered; the studio measures a different area basis and does not classify full or half bathrooms.

Open the home studio

Save your concept in the studio first. The untouched starter preview is an example.

What still needs design work?
  • Confirm net usable area after wall assemblies and finishes are designed.
  • Confirm full and half bathrooms, fixtures, access and bedroom requirements.
  • Roof, structure, foundations, services and method-specific connections need design.
  • Site fit, local approvals and construction documents remain to be confirmed.

A comparison review records your choices. It does not mark a design as professionally approved.

THREE CONCEPT STUDIES

Start with an example brief

These are editable starting goals. Areas are proposed usable-space targets; no floor plan, construction price or completed Stackx project is represented.

COMPACT LIVING

A simpler everyday home

1,200 sq ft target
2 bedrooms · 2 bathrooms · single storey

A smaller room program with clear separation between indoor space and outdoor extras.

Finish and extras assumptions

Example scope: durable midrange flooring, straightforward kitchen cabinets, standard bathroom fixtures and a separate shaded porch. Garage excluded; materials, quantities and prices remain to be specified.

FAMILY & GATHERING

Room for family life

1,800 sq ft target
3 bedrooms · 2 bathrooms · single storey

Shared family space, three private bedrooms and separately scoped garage and porch.

Finish and extras assumptions

Example scope: durable midrange flooring, practical kitchen storage and standard bathroom fixtures. A two-car garage and shaded porch are separate extras; their sizes, finishes and prices remain to be designed.

WORK & FLEXIBILITY

A home with a quiet workspace

1,600 sq ft target
2 bedrooms · 2 bathrooms · single storey

An office remains an office in the brief. Accessibility and acoustic performance require detailed design.

Finish and extras assumptions

Example scope: durable midrange flooring, standard kitchen and bathroom fittings, acoustic separation around the office and a covered outdoor area. Garage excluded; assemblies, dimensions and prices remain to be specified.

DESIGN ADAPTATIONS

Keep the home consistent across methods

Keep usable area, room needs and finish priorities as the comparison target. The wall assembly, external footprint and connections still need to be designed for each option.

Traditional framing

Coordinate room openings with the framing and bracing layout.

  • Ask the designer to resolve headers, spans, wall bracing and roof-to-foundation connections.
  • Specify the insulation, weather barrier, services and finish build-up before confirming usable area.

Who to involve: Building designer and structural designer, with the framing contractor.

APA · wall bracing ↗

Use these planning questions with the actual system, site and responsible designer. Guide updated September 14, 2026.

Masonry

Identify the loadbearing masonry assembly and its connections.

  • Review reinforcement, lintels, movement joints and roof/foundation connections for the actual wall system.
  • Coordinate insulation, moisture control and service openings; brick veneer alone is not a structural masonry design.

Who to involve: Masonry/structural designer and masonry contractor.

CMHA · concrete masonry resources ↗

Use the Concrete Masonry Tech Resources section for the selected assembly. Guide updated September 14, 2026.

3D printed concrete

Identify what the printed material actually does in the wall.

  • Confirm whether printing creates the structural wall, permanent formwork or another part of a tested assembly.
  • Ask for the selected system’s design/evaluation documents, reinforcement, opening details, insulation, services and roof/foundation connections.
  • Confirm printer access and the work that other trades must complete.

Who to involve: The selected system provider and responsible structural designer.

Stackx · provider dossiers and original sources ↗

Provider-specific evidence is required; a schematic printing path does not establish an approved wall system. Guide updated September 14, 2026.

Insulated concrete forms

Keep your usable-space target while resolving the full wall thickness.

  • Coordinate concrete core, insulation, reinforcement, opening bucks, services and roof/foundation ties.
  • Confirm placement, temporary bracing and finishing requirements with the chosen form manufacturer and trained installer.

Who to involve: Structural designer, form-system supplier and concrete installer.

PNNL · insulated concrete forms ↗

Use these planning questions with the actual system, site and responsible designer. Guide updated September 14, 2026.

Removable panel forms

Plan the cast wall and the reusable forms as separate parts of the job.

  • Coordinate openings, reinforcement and embedded services before the pour.
  • Confirm form layout, bracing, handling, stripping and reuse with the supplier; specify insulation and finishes separately.

Who to involve: Concrete/structural designer, form supplier and concrete contractor.

Precise Forms · concrete-home systems ↗

Manufacturer information is an example of a system, not a Stackx partnership or local availability. Guide updated September 14, 2026.

Panelized / prefab panels

Confirm exactly which components the factory will deliver.

  • Identify the panel material and factory scope before arranging openings, joints and service routes.
  • Review connection details, installation tolerances, delivery/lifting access and the point when the design must be fixed.

Who to involve: Building designer, panel manufacturer and site installer.

HUD · offsite construction research ↗DOE · SIPs, one panel type ↗

Use these planning questions with the actual system, site and responsible designer. Guide updated September 14, 2026.

Modular

Coordinate factory modules with the prepared site.

  • Review module size, transport route, lifting access and foundation tolerances before finalizing the layout.
  • Define factory/site scope, service connections, completion trades and the applicable approvals.

Who to involve: Module manufacturer and building/site designers with the site contractor.

HUD · offsite construction research ↗

Use these planning questions with the actual system, site and responsible designer. Guide updated September 14, 2026.

Hybrid construction

Assign responsibility for every junction between systems.

  • Ask the designers to agree loads, movement, weather protection, thermal continuity and service transitions at each interface.
  • Record who designs, supplies, installs and checks each connection.

Who to involve: A coordinating building designer and the responsible system designers.

PNNL · ICF floor/roof connection guidance ↗

The coordination questions are planning prompts; the final detail depends on the actual combination. Guide updated September 14, 2026.

Review my method shortlist

Before a concept becomes a build

Each selected method needs a reviewed structural system, a site fit check, the relevant local approval path and a complete supplier scope. The concept studio does not produce permit-ready drawings or automatically engineer a home for ICF, printing or panel construction.